Introduction
For many users, the comfort and simplicity of Windows 7 remain unmatched. If you’ve upgraded to Windows 10 but miss the classic look and feel of Windows 7, you aren’t alone. Thankfully, customizing Windows 10 to mirror the Windows 7 interface is possible. This guide will help you tweak your system’s aesthetics, from the start menu to the overall theme, icons, and taskbar, restoring the familiarity you long for.
Start Menu Customization
Central to your PC experience, the start menu should be intuitive and familiar. To recreate the Windows 7 start menu on Windows 10, follow these steps:
- Installing a Classic Start Menu:
- Download a reliable program such as Classic Shell or Open-Shell from their official websites.
- Install the software, following the easy step-by-step wizard.
-
Choose a Windows 7 style from the settings to activate the classic start menu appearance.
-
Recommended Software Tools:
- Classic Shell provides customizable styles and configurations, helping you achieve that nostalgic interface.
- Open-Shell, a continuation of Classic Shell, is regularly updated for the latest Windows iterations.
With these tools set up, your navigation experience via the start menu will align much more closely with that of Windows 7, bridging the gap between past and present.
Theme and Visual Styles
To continue this transformation, adopting a cohesive Windows 7 theme for your entire desktop environment is essential. Here’s how:
Downloading Windows 7 Themes:
– Utilize resources like DeviantArt to find authentic Windows 7 themes that are compatible with Windows 10.
– Download and extract the files from a trusted theme package.
Applying Themes in Windows 10:
– Proceed to Settings > Personalization > Themes.
– Select ‘Add or remove themes’ and install the package you downloaded.
– Activate the Windows 7 theme to integrate its look across your system.
Completing these steps not only modifies the visual framework but also integrates well with icon adjustments to ensure every detail mirrors your beloved Windows 7.
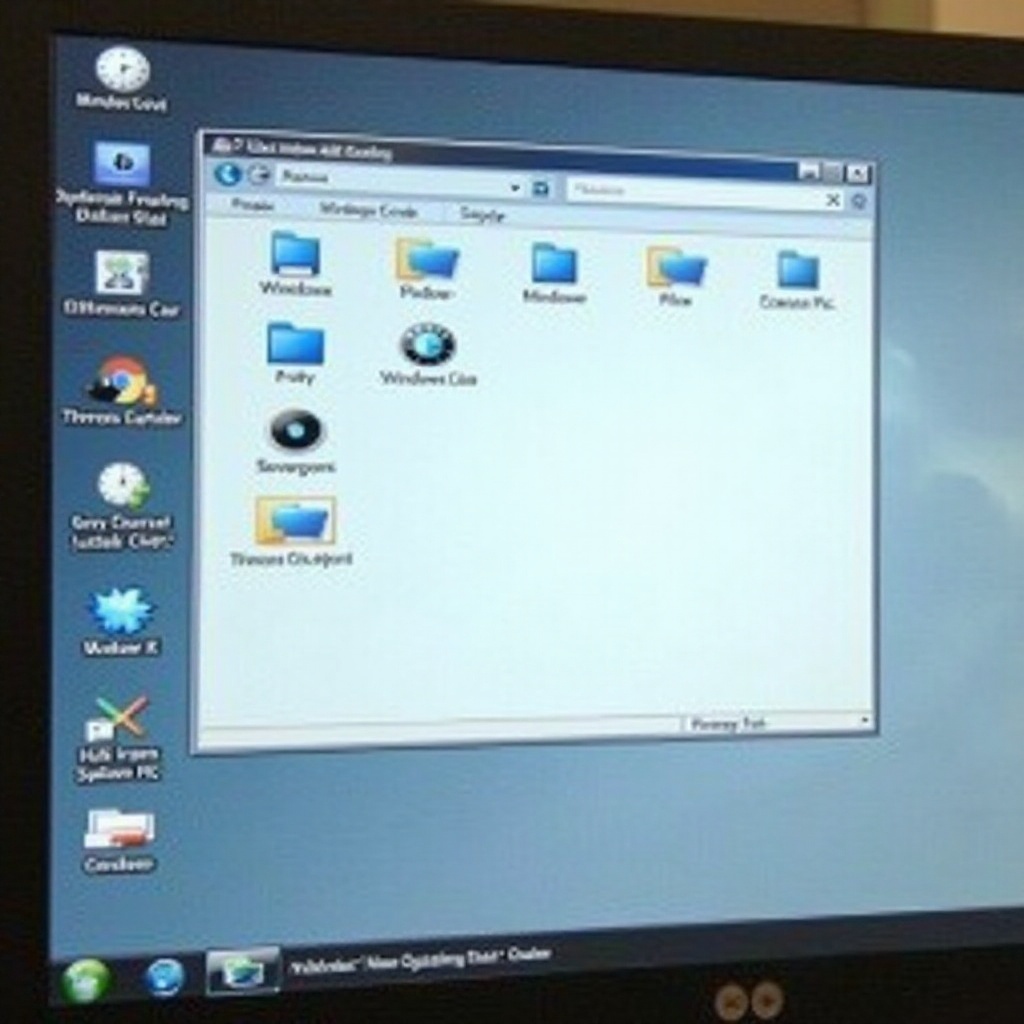
Icon Customization
System icons are a subtle yet powerful component of your desktop environment’s identity. Let’s delve into reshaping them to match Windows 7:
How to Modify System Icons:
– Access ‘Control Panel > Personalization.
– Choose ‘Change desktop icons’ to switch default system icons for Windows 7 alternatives.
Resources for Windows 7 Icon Packs:
– Check platforms like DeviantArt and IconArchive for comprehensive icon packs.
– Download and apply a complete icon set to ensure uniformity throughout your system.
These modifications enhance the visual consistency started with the theme and will flow naturally into our customization of the taskbar and Explorer.
Taskbar and Explorer Tweaks
To polish off the revamped look, align both your taskbar and file explorer with Windows 7’s conventional style:
Customizing the Taskbar Appearance:
– Right-click on the taskbar and enter ‘Taskbar settings.
– Adjust the taskbar size, position, and colors to emulate the traditional Windows 7 appearance.
Modifying File Explorer to Windows 7 Style:
– Employ tools like OldNewExplorer to revert File Explorer’s ribbon menu to the classic layout.
– Set folder options to replicate the navigation experience from Windows 7.
By refining these areas, your system’s usability and visual clarity will match Windows 7 standards, seamlessly transitioning to the final touches of font and color adjustments.
Fonts and Color Adjustments
Finishing your customization, aligning fonts and color themes with Windows 7 aesthetics will complete your desktop transformation:
Setting Fonts to Match Windows 7:
– Navigate to ‘Settings > Ease of Access > Display.
– Set font sizes and types, such as ‘Segoe UI,’ while adjusting scaling to ideal Windows 7 levels.
Adjusting System Colors:
– Enter ‘Settings > Personalization > Colors.
– Choose colors synonymous with the Windows 7 palette and manage transparency settings based on your preference.
With these final tweaks, your Windows 10 will not only look like Windows 7 but offer the comfort and familiarity that once defined your computer interactions.
Conclusion
By following this comprehensive guide, you can successfully transform your Windows 10 environment into a mirror of the classic Windows 7 interface. From the start menu adjustments to the detailed customization of themes, icons, and fonts, each modification preserves the best of the past while maintaining the functionality of Windows 10. Embrace the best of both worlds by tailoring your experience to suit your nostalgic preferences.
Frequently Asked Questions
Is it safe to use third-party software for customization?
Yes, as long as you download from reputable sources such as Classic Shell or Open-Shell, your system remains secure.
Can I revert back to the original Windows 10 look easily?
Absolutely. You can disable or uninstall any third-party tools and revert settings via the Windows 10 control panel or settings menu.
What should I do if my system becomes unstable after customization?
Consider running a system restore to revert to a previous system state before the changes. Always ensure to back up your system before making significant alterations.