Removing Nvidia drivers from Windows 11 is crucial when dealing with hardware upgrades or graphics issues. Properly uninstalling these drivers ensures your system performs optimally. This guide will walk you through each step, providing detailed instructions for a seamless uninstallation process.
Introduction
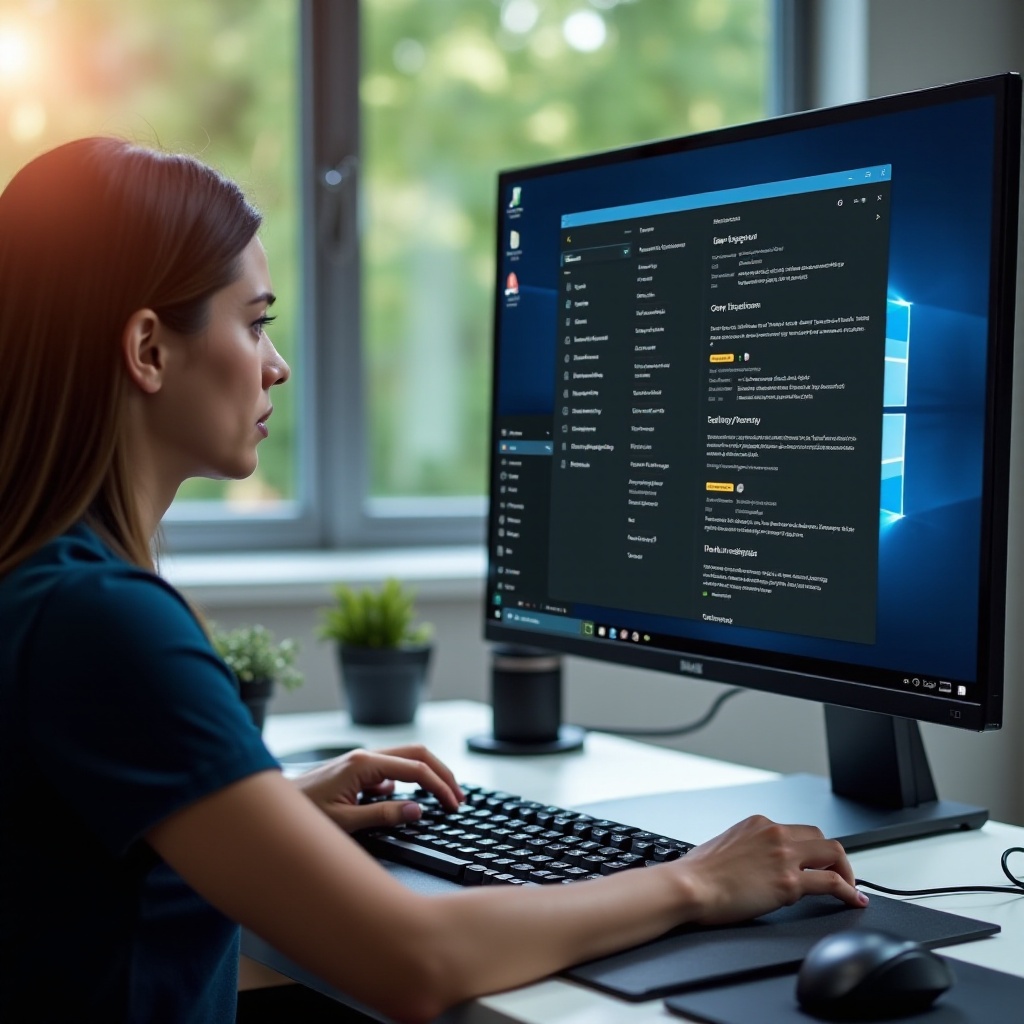
Managing your graphics drivers efficiently is essential for maintaining system performance. Nvidia drivers play a significant role in managing your display and supporting high-performance applications. There are times when uninstalling these drivers is necessary, whether due to hardware upgrades or troubleshooting issues. This comprehensive guide provides step-by-step instructions on how to uninstall Nvidia drivers from a Windows 11 system, covering everything from preparation to post-installation steps.
Preparing Your System for Uninstallation
Before uninstalling drivers, it’s essential to prepare your system to prevent any potential data loss or corruption. Ensuring a smooth and successful uninstallation process begins with safeguarding your crucial data.
-
Backing Up Important Data: Begin by backing up essential files to an external drive or cloud storage. This precaution ensures that you won’t lose significant data should anything go wrong during the uninstallation process.
-
Creating a System Restore Point: Set up a system restore point. This creates a safety net, allowing you to revert your system to a previous state if something unexpected occurs.
With all your important data secured and a system restore point in place, you’re ready to move on to different methods of uninstalling Nvidia drivers.
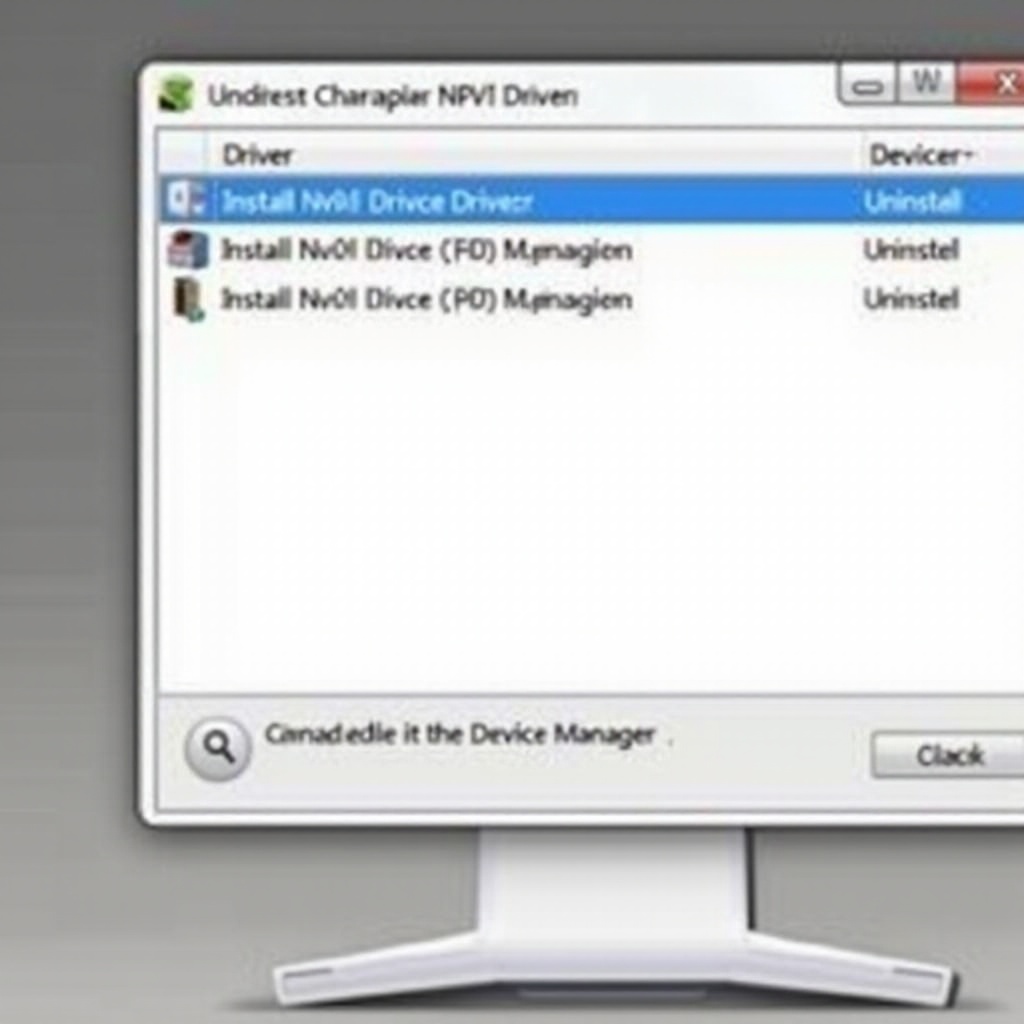
Method 1: Uninstalling Nvidia Drivers Using Device Manager
Device Manager is a built-in Windows tool that simplifies the management of your system drivers. Uninstalling drivers through this tool is straightforward and effective.
-
Accessing Device Manager: Right-click the Start button and select ‘Device Manager.
-
Locating Nvidia Graphics Drivers: In the Device Manager window, locate and expand the ‘Display adapters’ section. Right-click your Nvidia graphics card and select ‘Properties.
-
Safe Uninstallation Steps: Navigate to the ‘Driver’ tab, then click ‘Uninstall Device.’ Confirm your selection, and Windows will proceed to remove the driver.
Restart your computer to complete the uninstallation process. If you prefer using the Control Panel or encounter issues with this method, proceed to the next option.
Method 2: Uninstalling Nvidia Drivers via Control Panel
The Control Panel offers another reliable option for software and driver removal. Follow these steps to uninstall Nvidia drivers using the Control Panel:
-
Navigating to Control Panel: Type ‘Control Panel’ into the Windows search bar and open the application.
-
Removing Programs via Programs and Features: Click on ‘Programs and Features.’ Locate Nvidia drivers in the list, right-click, and select ‘Uninstall/Change.’ Follow the on-screen prompts to complete the process.
This method is helpful if you need to manage multiple Nvidia components simultaneously. Once uninstalled, restart your PC to ensure all changes are applied.
Advanced Method: Using Display Driver Uninstaller (DDU)
For a more in-depth cleanup, Display Driver Uninstaller (DDU) can be used to remove drivers and residual files left by standard methods.
-
Introduction to DDU: Display Driver Uninstaller is a third-party tool designed to completely uninstall drivers, ensuring no remnants remain for a fresh start.
-
Step-by-Step Guide for Using DDU:
-
Download and Install DDU: Visit the official DDU website, download, and extract the tool, then run it.
-
Safe Mode Boot: Boot your system in Safe Mode for the cleanest results.
-
Running DDU: Open DDU, select ‘GPU’ from the drop-down menu, and choose Nvidia drivers. Click ‘Clean and restart’ to proceed.
Using DDU ensures that no previous driver traces remain, setting your system up for new driver installations.
Post-Uninstallation Steps
After removing Nvidia drivers, it’s crucial to verify that all files are gone and that your system operates smoothly.
-
Removing Residual Files: Check your Program Files for any leftover Nvidia folders or files, and delete them if necessary.
-
Verifying Successful Uninstallation: Revisit Device Manager to ensure no Nvidia drivers appear under ‘Display adapters.
Completing these steps guarantees that your system is clean and ready for new drivers, which aids in maintaining optimal performance.
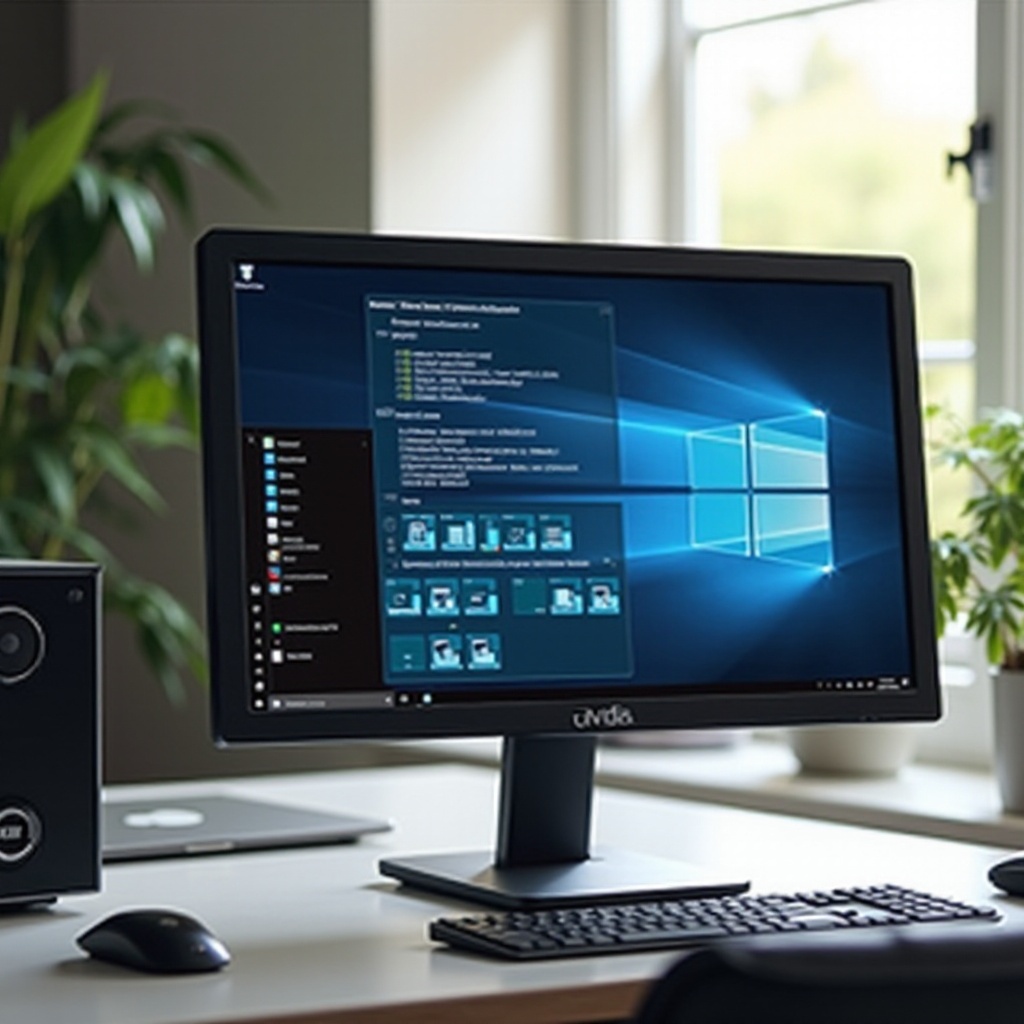
Reinstalling Nvidia Drivers on Windows 11
Reinstallation might be necessary to enhance system efficiency, especially with the latest driver updates and features available.
-
Downloading Latest Drivers from Nvidia: Visit the Nvidia website to download the latest compatible drivers for your graphics card and Windows 11.
-
Installing and Configuring Nvidia Drivers: Execute the downloaded file and follow the installation prompts. Consider opting for a ‘Custom Installation’ to select specific components that best meet your needs.
After installation, restart your computer to apply any changes and ensure everything functions correctly.
Conclusion
Effective driver management is crucial for maintaining an optimized system. This guide has detailed various methods for uninstalling Nvidia drivers on Windows 11, ranging from built-in tools to advanced third-party solutions. Understanding these processes helps you conduct clean installations, avoiding complications and keeping your computer performing smoothly.
Frequently Asked Questions
How can I ensure all Nvidia driver files are completely removed?
Utilizing DDU in Safe Mode ensures a clean removal of all driver files, leaving no leftovers.
Can I reinstall older drivers instead of the latest ones?
Yes, you can download and install older drivers from Nvidia’s archive, but it’s recommended to choose the latest for better compatibility and performance.
What should I do if I encounter issues during uninstallation?
Reboot your system in Safe Mode and attempt the uninstallation again. You can also seek additional assistance from Nvidia support or relevant forums.