Introduction
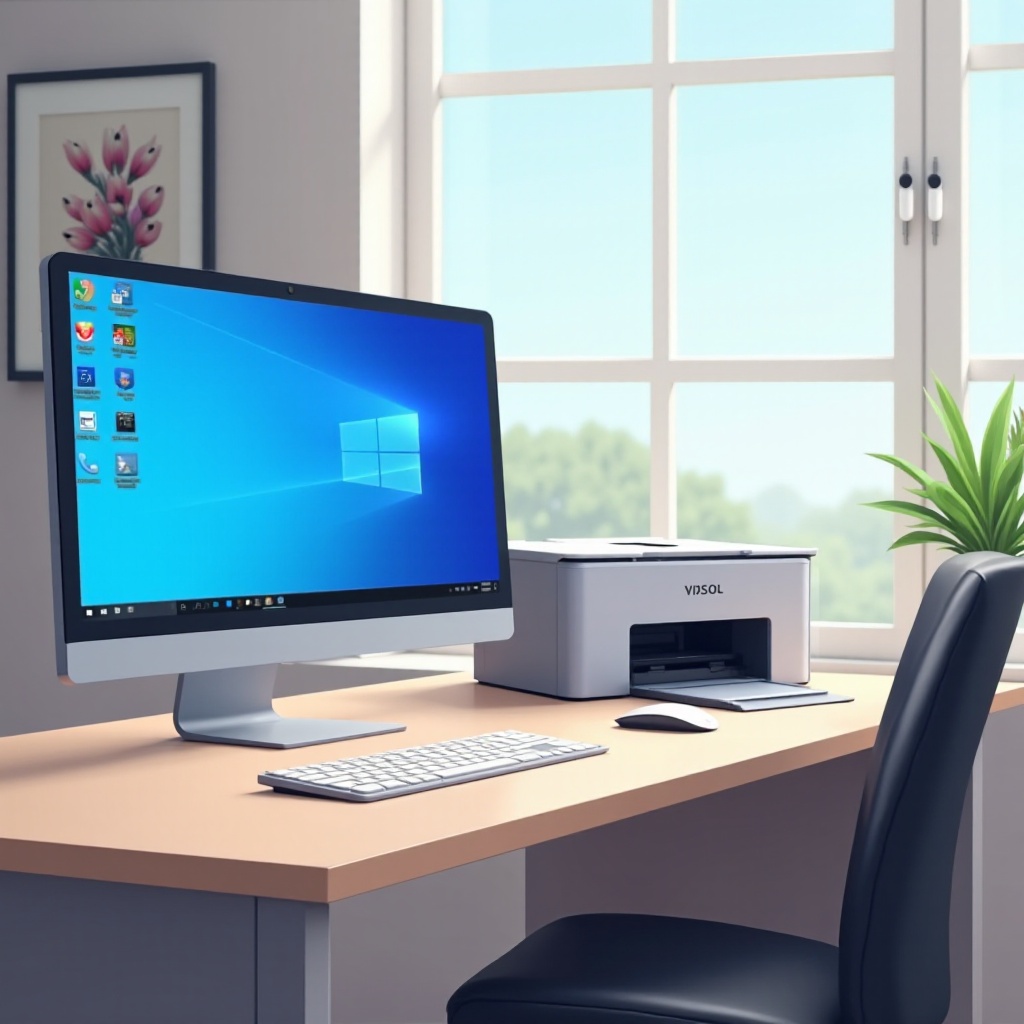
Removing a printer from your Windows 11 setup can be crucial, especially if you’re facing technical issues or no longer need the device. While the process can seem daunting due to the sleek and updated interface, this guide offers clear, manageable steps to make it simple. With these instructions, you’ll learn to navigate Windows 11’s new layout and solve any potential challenges. This knowledge empowers you to maintain a smooth and hassle-free computing environment.

Navigating the Windows 11 Interface
Windows 11 boasts a polished, modern design that may complicate locating settings that users were accustomed to in previous versions. Knowing how to efficiently navigate the updated interface is the first step in removing a printer. The Start Menu continues to be the central hub for tasks, enabling access to vital tools like the Settings app. Using the built-in search capabilities can streamline your experience, helping you find specific apps quickly. By familiarizing yourself with these changes, you can smoothly proceed with printer removal.

Preparing Your System for Printer Removal
Before proceeding, a few preparatory steps can prevent potential hiccups. Make sure there are no active print jobs, as interrupting them could lead to complications. Verify that your computer is up-to-date with the latest Windows updates to prevent compatibility issues. Lastly, securely disconnect the printer from your machine. This preliminary work helps to ensure a seamless removal process, minimizing disruptions and facilitating a complete system cleanup.
How to Remove a Printer via Settings
The Settings app in Windows 11 offers a straightforward approach to remove a printer from your system:
-
Accessing the Settings Menu: Use the key combination Windows + S to open the search bar, type ‘Settings,’ and press Enter. Go to ‘Devices,’ and then choose ‘Printers & Scanners.
-
Selecting and Removing the Printer: Navigate through the list of connected devices, select the printer you wish to remove, and click ‘Remove device.’ Confirm the action when prompted.
These steps should effectively remove the printer, ensuring it’s cleared from your device list.
Removing a Printer Through the Control Panel
The Control Panel continues to be an essential utility for device management, offering a more detailed interface for advanced users. Here’s how it complements the Settings app:
Differences Between Settings and Control Panel
While the Settings app simplifies the process, the Control Panel offers detailed options for those who require greater control over hardware management.
Steps to Uninstall via Control Panel
- Open the Run dialog by pressing Windows + R, type ‘control,’ and hit Enter.
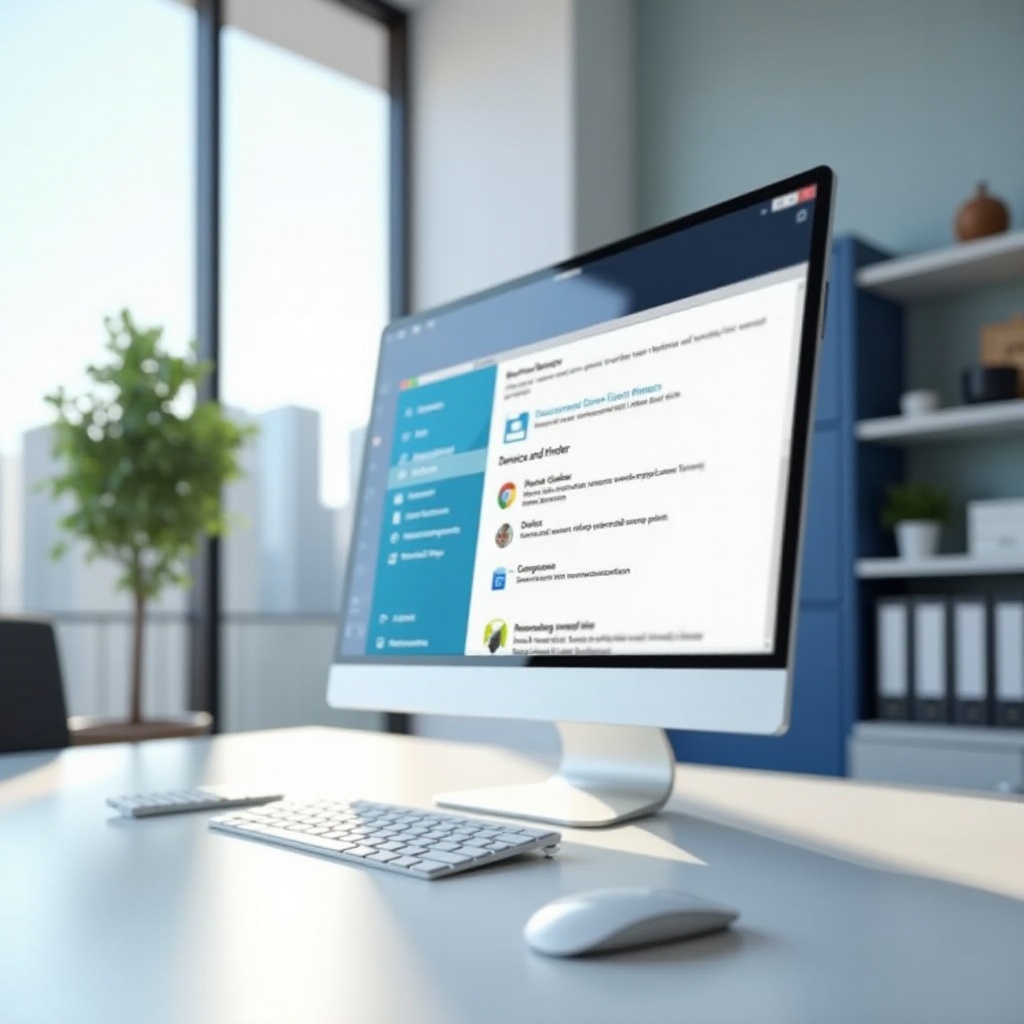
- Go to ‘Hardware and Sound,’ then ‘Devices and Printers.
- Locate the printer, right-click, and select ‘Remove device.
Confirm the removal, and the printer will be detached from your system.
Advanced Troubleshooting Techniques
If basic methods don’t resolve your printer issues, advanced troubleshooting can help. Command Prompt and PowerShell provide powerful solutions for stubborn problems.
Using Command Prompt and PowerShell
These tools allow you direct command over system tasks:
– Open Command Prompt as an administrator and type printui.exe /s /t2 to access Print Server Properties. Select the problematic printer and click ‘Remove.
– Use PowerShell by launching it as an administrator and typing Remove-Printer -Name 'Printer Name' for direct removal.
Handling Stubborn Printer Drivers
Persistent drivers can be resolved again via Print Server Properties through Command Prompt. Navigate to the ‘Drivers’ tab to delete lingering drivers to avoid future issues.

Post-Removal Best Practices
After uninstalling the printer, a few keys practices can ensure system efficiency and prevent future complications with printers.
Cleaning Up Residual Files
Post-removal, clear out temporary and residual files using built-in tools like Disk Cleanup or trusted third-party applications. It helps keep your system streamlined and as efficient as possible.
Updating System and Printer Drivers
Regular updates stop compatibility issues before they arise. Always check your printer manufacturer’s website for the newest drivers to ensure smooth future operations with any connected printers.
Conclusion
By following the outlined steps using Settings or the Control Panel, removing a printer on Windows 11 can be straightforward. Advanced techniques enable resolution of entrenched issues, while good post-maintenance ensures your system is always ready for new devices. You now have the comprehensive knowledge to manage your Windows 11 printers efficiently and effectively.
Frequently Asked Questions
Why can’t I remove my printer in Windows 11?
If the removal isn’t successful, verify there are no active print jobs, ensure you have administrative rights, and check that no other device is using the printer’s drivers.
How do I remove a network printer in Windows 11?
Locate the network printer in ‘Printers & Scanners’ via the Settings or through the Control Panel, select it, and hit ‘Remove.’
What should I do if the printer reappears after removal?
Disable any settings that automatically reinstall devices and clear any pending print queues. Ensure no software is set to automatically reinstate it.


