Introduction
Encountering an audio jack issue on your iPad can be quite exasperating, especially when you’re looking forward to enjoying music, movies, or games. While sometimes these issues may be due to minor glitches that can be easily fixed, at other times, they may suggest deeper, underlying hardware concerns. Recognizing the root causes of audio jack problems and knowing the right steps to troubleshoot them can significantly hasten the repair process. This guide will provide you with practical solutions that aim to restore your iPad’s audio jack to its full working condition, ensuring an uninterrupted audio experience.

Common Causes of iPad Audio Jack Issues
Before delving into the solutions, it’s crucial to understand the typical causes behind audio jack malfunctions. Dust and debris gathering in the jack can disrupt connections, leading to inconsistent or outright absent audio. Additionally, frequent usage might cause wear and tear that could affect the jack’s functionality. Sometimes, software glitches can also impede audio transmission. With this understanding, you can better identify which troubleshooting approach may most likely solve your specific issue. Let’s move on to explore the initial troubleshooting steps to resolve the problem.
Initial Troubleshooting Steps
Beginning with simple checks can often resolve minor audio jack problems efficiently. Follow these steps to get started:
Inspect Your Headphones and Jack
- Swap out your current headphones with another pair to rule out defects in the headphones themselves.
- Check the jack visually for any noticeable damages or blockages that could be affecting connectivity.
Test Different Audio Sources
- Play audio from various applications or media sources to make sure the issue isn’t specific to a particular app.
- Use online audio tests to see if the issue is broader.
Restart Your iPad
- Press and hold the power button until you see the ‘slide to power off’ option.
- Slide to power off, wait a few moments, and then restart your device.
After these foundational checks, we will examine more hands-on strategies like cleaning the audio jack port.
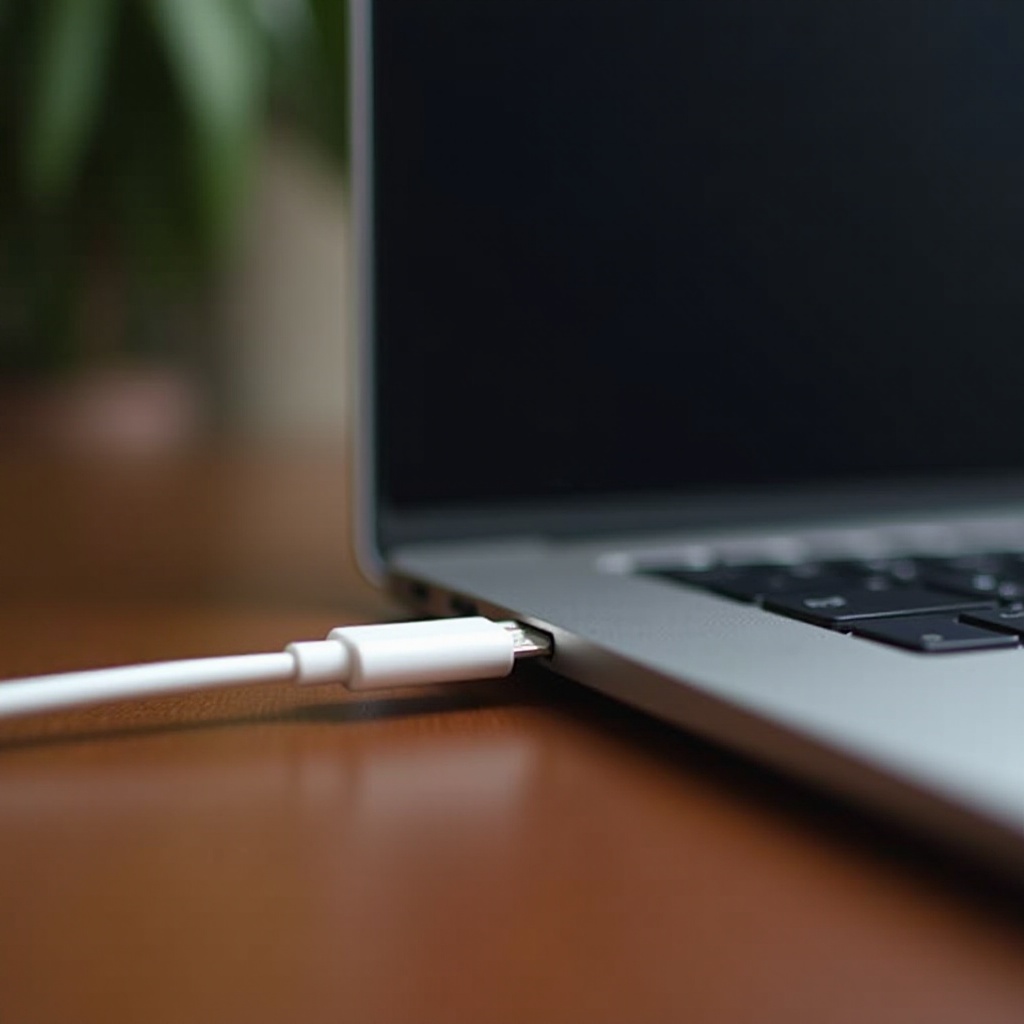
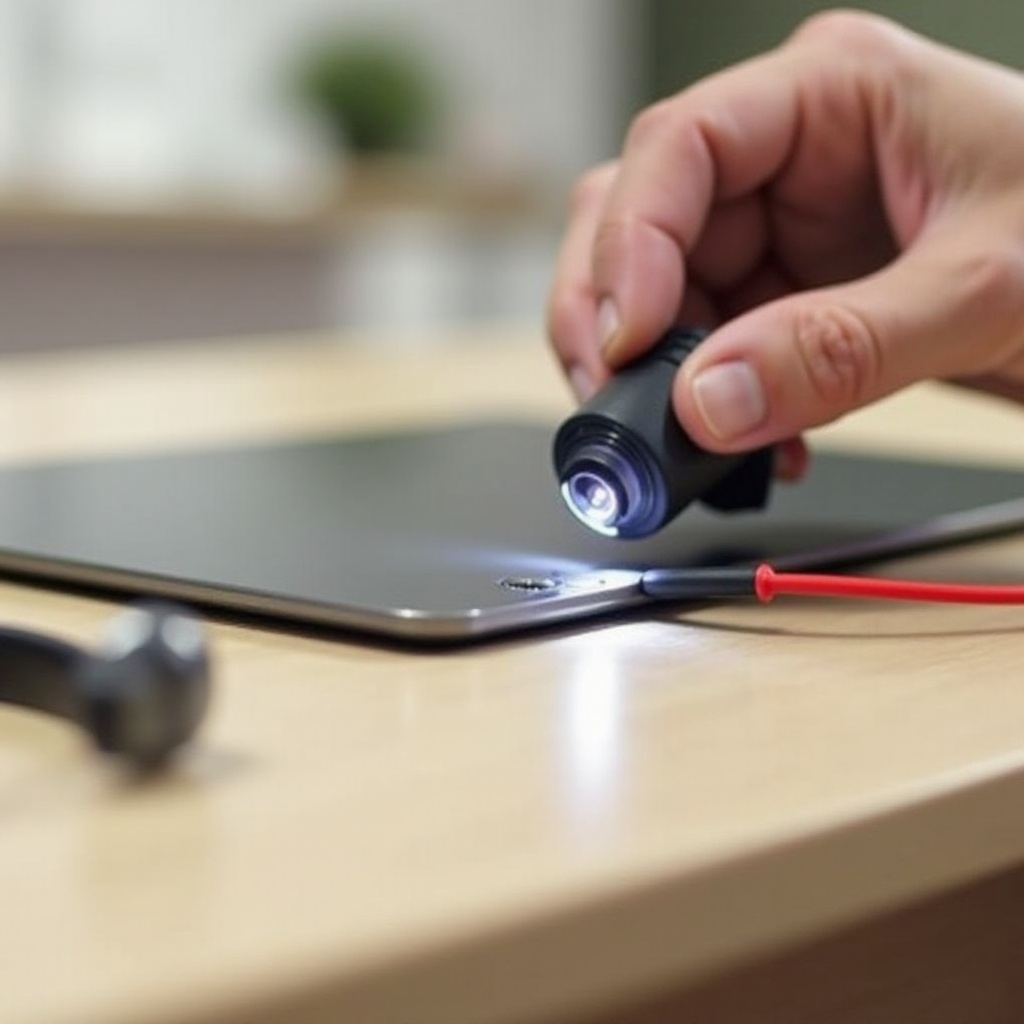
Cleaning the Audio Jack Port
Accumulated debris may hinder the audio jack’s function, making a meticulous cleaning session necessary for restoring normal operation.
Required Tools for Cleaning
- Compressed air canister
- Cotton swabs
- Isopropyl alcohol
Step-by-Step Cleaning Process
- Power off your iPad to avoid any short circuit.
- Utilize compressed air to gently eliminate loose particles. Keep the can upright to prevent propellant release.
- Moisten a cotton swab with isopropyl alcohol, ensuring excess moisture is squeezed out.
- Gently insert the swab into the audio jack, twisting to remove persistent debris.
- Allow it to dry completely before retesting the audio jack.
Having established a clean and obstruction-free jack, we now turn to software solutions that might address potential software-related problems.
Software Solutions for iPad Audio Problems
In certain cases, software misconfigurations can inhibit audio output, making it necessary to explore software-based resolutions when hardware fixes prove inadequate.
Update iOS to the Latest Version
- Go to ‘Settings.
- Select ‘General,’ then ‘Software Update.
- Install any updates that become available, as they typically address known bugs.
Reset Audio Settings
- Navigate to ‘Settings.
- Select ‘General,’ then choose ‘Reset.
- Opt for ‘Reset All Settings’ to maintain your data while restoring system settings to defaults.
Use Assistive Touch as a Temporary Fix
- Enable ‘Assistive Touch’ under ‘Accessibility’ in ‘Settings.
- Use on-screen controls to adjust volume and audio output, bypassing physical buttons.
If these solutions do not resolve the issue, more advanced techniques might be necessary.
Advanced Troubleshooting Techniques
When simple solutions fail, diving into more complex approaches might offer the remedy needed.
Perform a Factory Reset
- Back up your data via iCloud or a computer.
- Open ‘Settings’ and select ‘General.
- Choose ‘Reset,’ then ‘Erase All Content and Settings.
- Follow instructions to complete the reset.
- Restore your data from backup.
Utilize Diagnostic Tools
- Install a diagnostic app from the App Store.
- Follow instructions to conduct tests that verify hardware functionality of the audio jack.
If these steps don’t resolve the issue, it might be time to seek professional assistance.

When to Seek Professional Repair
When exhaustive efforts don’t cure the problem, knowing when to call in a professional is vital to preventing further damage.
Identifying Signs of Hardware Failure
- Visible damage to the jack or its surroundings.
- Ongoing audio distortion or crackling that software updates don’t resolve.
Finding Authorized Service Providers
- Visit Apple’s support page to locate nearby authorized service centers.
- Choose certified technicians to ensure quality repairs and warranty compliance.
Prevent future issues with simple maintenance tips.
Preventive Measures for Future Audio Jack Issues
Avoid potential headaches by following simple prevention techniques. These habits can significantly extend your audio jack’s lifespan.
- Routinely clean the jack to stop build-up.
- Use the jack carefully to safeguard against wear.
- Keep your device in a dust-free environment whenever possible.
By applying these preventive and corrective strategies, you can ensure that your iPad delivers optimal sound quality.
Conclusion
Addressing an iPad audio jack problem requires a blend of elementary troubleshooting, cleaning, software updating, and possibly professional repair. Understanding the cause and applying these comprehensive solutions will help restore full audio functionality on your device.
Frequently Asked Questions
How do I clean my iPad audio jack safely?
Use compressed air and a cotton swab with isopropyl alcohol for gentle cleaning.
Can software updates fix audio jack problems?
Yes, updates can resolve bugs causing audio issues.
What should I do if my iPad audio jack is still not working?
Seek professional repair to diagnose potential hardware failures.